Kombucha Second Fermentation: How to Bottle for Flavor and Fizz
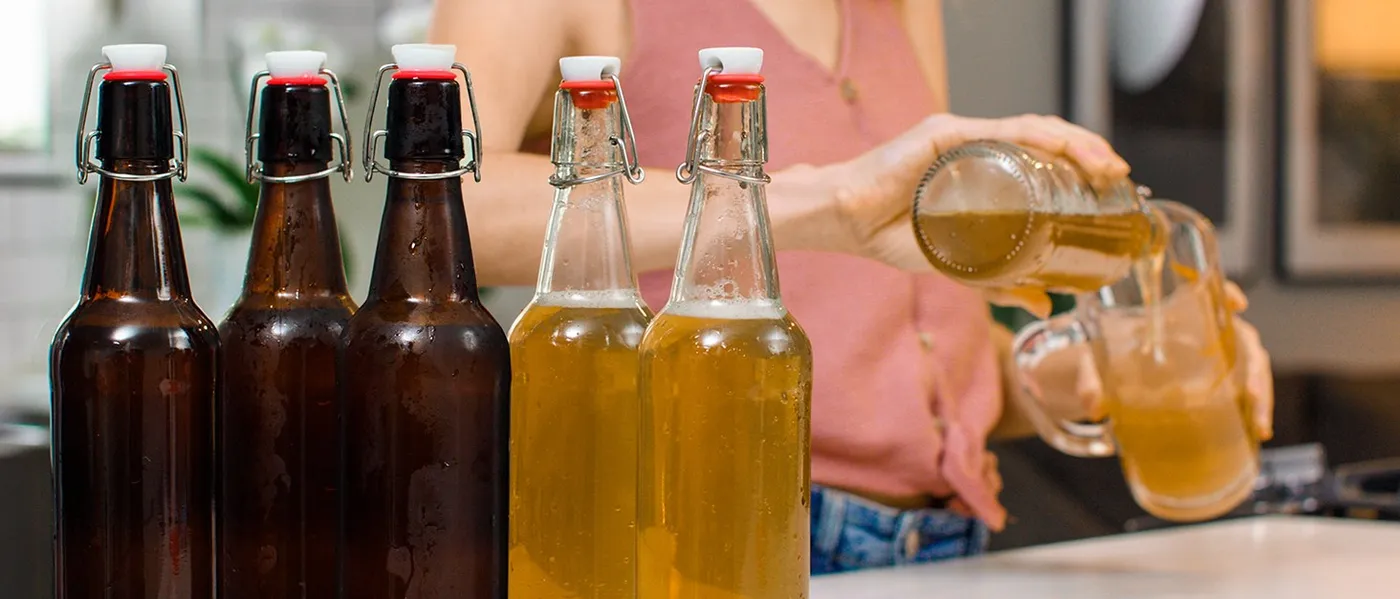
If your homemade kombucha tastes good but falls a little flat — literally — the answer is second fermentation. It’s the step where you bottle your finished brew with a bit of fruit or juice, seal it up, and let the yeast do one more round of work. The result is the flavored, naturally sparkling kombucha you’d pay five dollars a bottle for at the store.
It sounds technical. It isn’t. Here’s how it works.
First, what is “second fermentation”?
During the first fermentation (often shortened to F1), sweet tea and a SCOBY sit in an open, cloth-covered jar for a week or two. The culture turns the sugar into the tangy kombucha base. Because the jar is open, any carbonation escapes.
In the second fermentation (F2), you move that finished kombucha into sealed bottles along with a small amount of new sugar — usually from fruit. The yeast eats the sugar and produces carbon dioxide, and because the bottle is airtight, the gas has nowhere to go but into the liquid. That’s your fizz.
Why the bottle matters
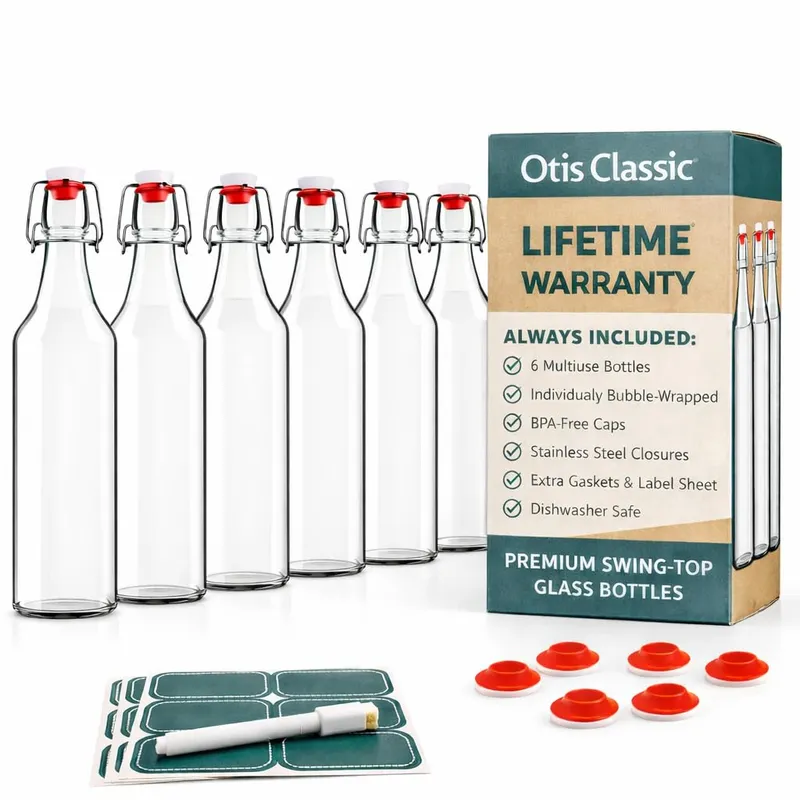
Carbonation means pressure, so this is the one place in home brewing where your container really matters. You want bottles that are made to hold carbonated drinks: thick, round glass with a swing top closure and a rubber gasket that seals airtight. Round bottles distribute pressure evenly; decorative square bottles and thin repurposed jars do not, and shouldn’t be used for F2.
Before each batch, check your bottles for chips or cracks, and make sure the gaskets are soft and seated properly. A tired gasket is the most common reason for flat kombucha.
What you’ll need
- Finished first-fermentation kombucha
- Clean swing top glass bottles — six 16 oz bottles handles most of a one-gallon batch
- Fruit, juice, or other flavorings
- A funnel and a fine strainer
Step by step
- Save your starter. With clean hands, remove the SCOBY and set it aside in a bowl with about two cups of your kombucha. That’s the starter for your next batch.
- Add flavor to the bottles. Aim for roughly 10–20% flavoring. In a 16 oz bottle, that’s 2–3 tablespoons of fruit purée or chopped fruit, or up to a quarter cup of juice.
- Fill. Stir the kombucha, then funnel it into the bottles, leaving about an inch of headspace at the top. Too much headspace means less fizz; too little leaves no room for pressure.
- Seal and wait. Clamp the swing tops shut and leave the bottles at room temperature, out of direct sunlight, for 2 to 4 days. Warmer rooms ferment faster.
- Check one. After two days, chill one bottle and open it. If it’s as fizzy as you like, move the rest to the fridge. If not, give the others another day or two.
- Refrigerate. Cold slows fermentation way down and helps the carbonation dissolve into the liquid. Chill for at least several hours before drinking.
Flavor ideas to start with
- Ginger + lemon — the classic. Fresh ginger is a reliable fizz-builder.
- Raspberry + mint
- Strawberry + basil
- Peach + vanilla
- Blueberry + lavender (go easy on the lavender)
- Apple + cinnamon stick for fall
How to avoid gushers
Over-carbonated bottles are the one real hazard of F2, and they’re easy to avoid.
- Don’t forget about them. Set a reminder. Once the bottles are fizzy, they belong in the fridge.
- Watch high-sugar fruits. Mango, pineapple, and ginger ferment fast. Check those batches at the two-day mark, or sooner in a warm kitchen.
- “Burp” if you’re unsure. Briefly cracking the lid once a day releases excess pressure. You’ll trade away a little fizz for peace of mind.
- Chill before opening, and open over the sink. Cold kombucha holds its carbonation far more calmly than warm. Keep a hand on the cap and release it slowly.
- Keep fermenting bottles somewhere contained — a cabinet or a cooler — especially for your first few batches while you learn how fast your kitchen ferments.
Beyond kombucha
The same bottles and the same method work for water kefir, ginger beer, and homemade sodas — anything that carbonates naturally in the bottle. And when they’re not busy fermenting, swing tops are just as good for cold brew, infused oils, syrups, and homemade vanilla extract.
Start simple, take notes on what you liked, and change one thing at a time. A few batches in, you’ll have a house flavor that’s entirely yours.