How to Use a Whipped Cream Dispenser: A Beginner's Guide
A whipped cream dispenser looks like professional kit — and it is — but it’s also one of the easiest tools in the kitchen to use. Once you’ve done it once, fresh whipped cream takes less time than finding the can at the back of the fridge. Here’s the whole process, start to finish.
What you’ll need
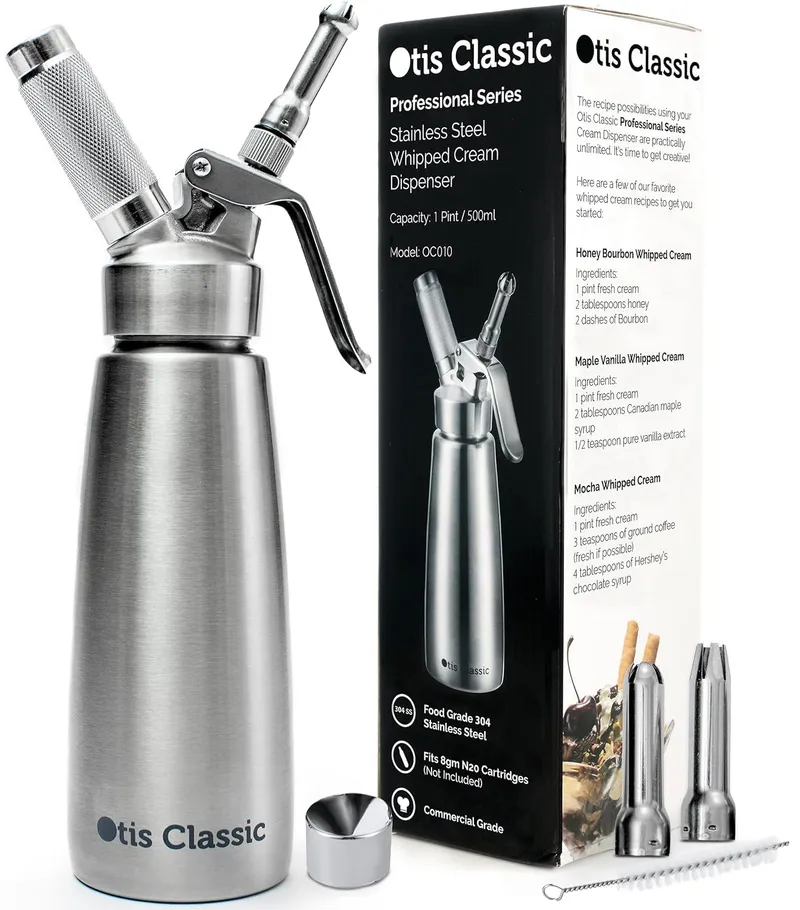
- A whipped cream dispenser (ours holds 500 ml, or one pint)
- One 8 g N₂O (nitrous oxide) cream charger
- Cold heavy whipping cream, 30–36% fat
- Optional: powdered sugar or a syrup, and vanilla extract
Two details matter more than anything else on that list. First, the charger has to be N₂O. CO₂ cartridges (for soda siphons) and N₂ cartridges (for nitro coffee) look similar, but they will not whip cream. Second, the cream has to be heavy cream and properly cold. Half-and-half and low-fat creams don’t have enough fat to hold the air.
Step by step
- Chill everything. Cold cream whips better. If you have a few minutes, put the empty dispenser in the fridge too.
- Fill the bottle. Pour in up to one pint of heavy cream — never past the max fill line. The gas needs room to work.
- Sweeten it. For a classic vanilla whipped cream, add 2 tablespoons of powdered sugar and 1 teaspoon of vanilla extract. Use powdered sugar or a liquid sweetener like maple syrup; granulated sugar doesn’t fully dissolve and can clog the nozzle.
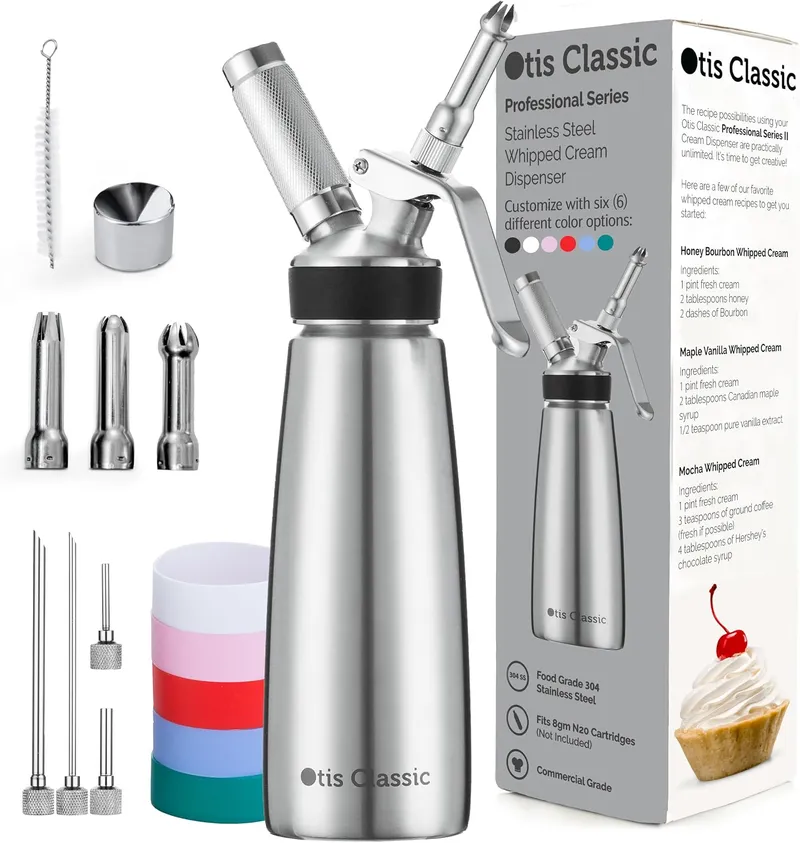
- Seal it. Check that the gasket is seated inside the head, then screw the head on firmly and evenly. Attach the decorating tip you want to use.
- Charge it. Drop a charger into the charger holder and screw it onto the head until you hear the gas release into the bottle. That hiss is normal.
- Shake. Give it four to six firm shakes. That’s it — more is not better. Over-shaking makes the cream stiff and buttery.
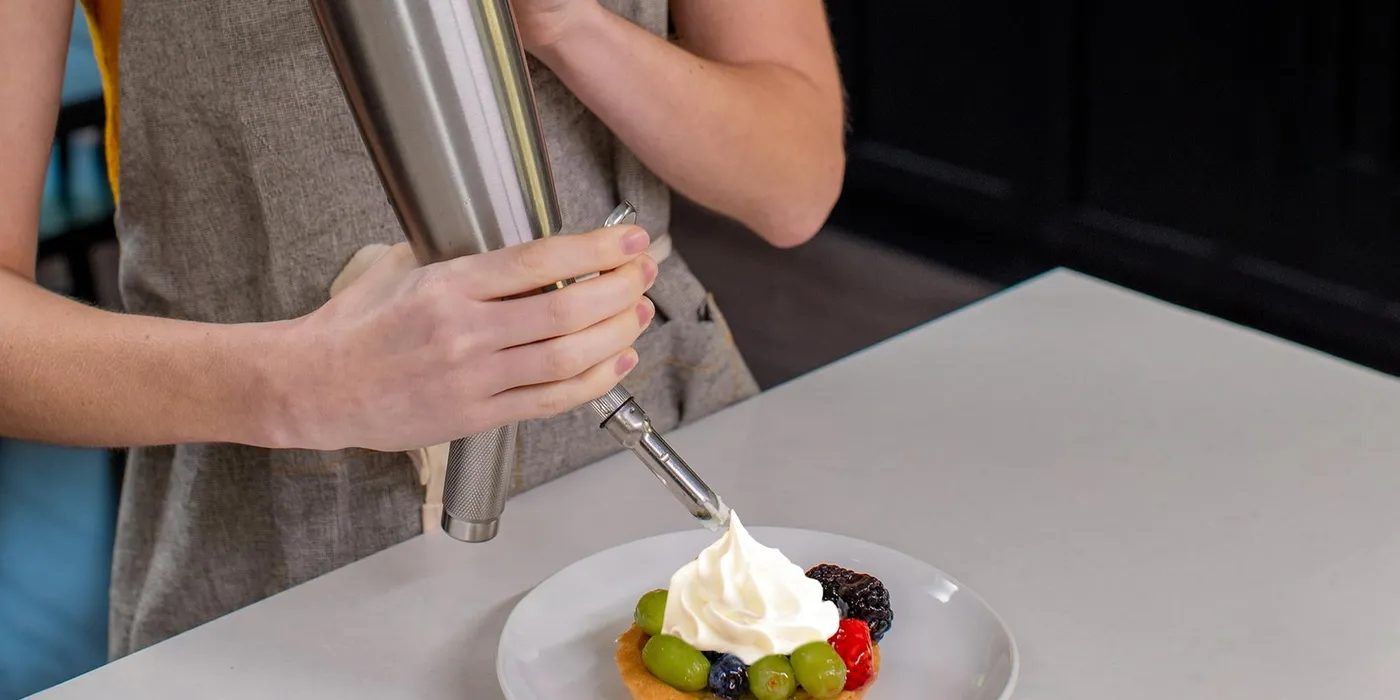
- Dispense. Turn the dispenser completely upside down, tip pointing straight at the plate, and squeeze the lever gently. If the first bit comes out soft, shake once or twice more.
You can unscrew the empty charger and replace it with the storage cap once the gas is in the bottle.
Storing it
This is the quiet superpower of a dispenser: the cream stays sealed away from air, so it keeps far longer than a bowl of hand-whipped cream. Store the charged dispenser in the fridge and it will be ready whenever you are — generally for up to a week, as long as that’s within your cream’s use-by date. Give it a shake or two before each use.
Cleaning up
Always release all the pressure before you open the dispenser. Hold it upright over the sink and squeeze the lever until nothing more comes out — no cream, no hiss. Only then unscrew the head.
From there it comes apart quickly: remove the tip, the tip base, and the gasket, and wash everything in warm soapy water. Use the small brush that comes with the dispenser to clean inside the tips and the valve. Let the parts dry fully before you put it back together.
Troubleshooting
- Runny cream? The cream probably wasn’t cold enough, wasn’t high-fat enough, or needs a couple more shakes.
- Too stiff, or sputtering? It’s been over-shaken. Next time, stop at four shakes and test.
- Gas escaping around the head? The gasket is missing or not seated flat. Release the pressure, reseat it, and try again.
- Nothing comes out? The tip may be clogged — usually undissolved sugar or a bit of spice. Release the pressure, then clean the tip and valve with the brush.
A note on safety
Cream chargers are for food preparation only. Never try to open a dispenser that’s still under pressure, don’t use more chargers than the dispenser calls for, and keep chargers away from heat.
Once you’ve made a basic vanilla cream, you’re most of the way to mousse, cold foam, and infused cocktails. We’ve collected our favorite ideas in 5 things to make with a whipped cream dispenser (besides whipped cream).